How To Plan Your Personal Brand Photo Shoot

I secured the domain for my professional website austentosone.com in 2020 and was so excited to finally have a designated place to showcase my writing portfolio, services I offer, and share more background into who I am and what I do.
However, when I first published the website, I was using a ton of miscellaneous photos from different shoots I’d done and it didn’t feel very cohesive or professional.
My gears started turning and I started getting excited envisioning what I’d ideally want if I were to organize a photo shoot of new images that I could use for my website.
I decided it would be great to actually do a personal branding shoot with the goal of taking photos that I could share all throughout my website, use in blog posts, my email newsletter and of course, on my social media channels to present a consistent visual brand identity across my many platforms.
Today, I’m sharing a behind-the-scenes look at the process of planning and executing your own personal brand photo shoot!
Planning the shoot
I knew I wanted to do this personal branding shoot to get new photos of myself for my website and social media channels.
I had recently hired a graphic designer to do my branding for me so she chose a color palette for me, designed a logo and created templates in Canva that I could use to create graphics for social media, my blog and more.
Since I already had my branding established, I knew that it was important to me to reflect these same colors in the photos from this shoot.
(BTW - if you don’t already have a color scheme or style for your brand, this is your chance to define it!)
For me this meant I wanted a studio space that was either more neutral where I’d wear my brand colors or a studio space that incorporated some of my brand colors where I could wear more neutral clothing to balance it out.
One thing I’m so glad I did was that I put together a secret board on Pinterest that I shared with my photographer to serve as a mood board with shots that I gathered for inspiration.
I searched “personal branding photo shoot” and started saving images that I wanted to emulate on my shoot.
I saw women at coffee shops, on their laptops and even just smiling and laughing in photos that felt very warm and welcoming, so those were some common things I noticed in all of the images I was gravitating towards.
I saved around ~20 images that I felt like really summed up what I wanted. Here’s a little peak at the Pinterest board I put together:

Hiring my photographer
Since I’ve worked with a few different photographers before while creating content here in New York City, I already knew I wanted to ask my friend Jessie Alcheh to shoot this project with me.
Not only is she a very talented professional photographer, but she’s also been my friend for almost a decade. She even shot some of the earliest photos for my blog, so she felt like the right choice for this project.
Even though we’re good friends, I made sure to put together a contract for us. It was a super simple agreement that outlined the terms of our working relationship for this project including the scope of work, her rate, and terms of payment.
You can do a quick Google search to find contract templates or the photographer you hire might have one of their own that they send over to you.
How I found a location
When I was searching for a shoot location, I knew that Peerspace would be the place to look!
Peerspace is an awesome website that allows you to rent spaces for a few hours or for the whole day. You can book spaces for pretty much anything—photo shoots, events, meetings and more.
Peerspace is available in the US, Canada, the UK, Australia and France. I was able to search for a photo shoot location in the New York City area and narrow down my searches based on price, how many people were going to be there and other filters.
I ended up choosing a space right outside of Manhattan and booked it for 4 hours from 10am-2pm.
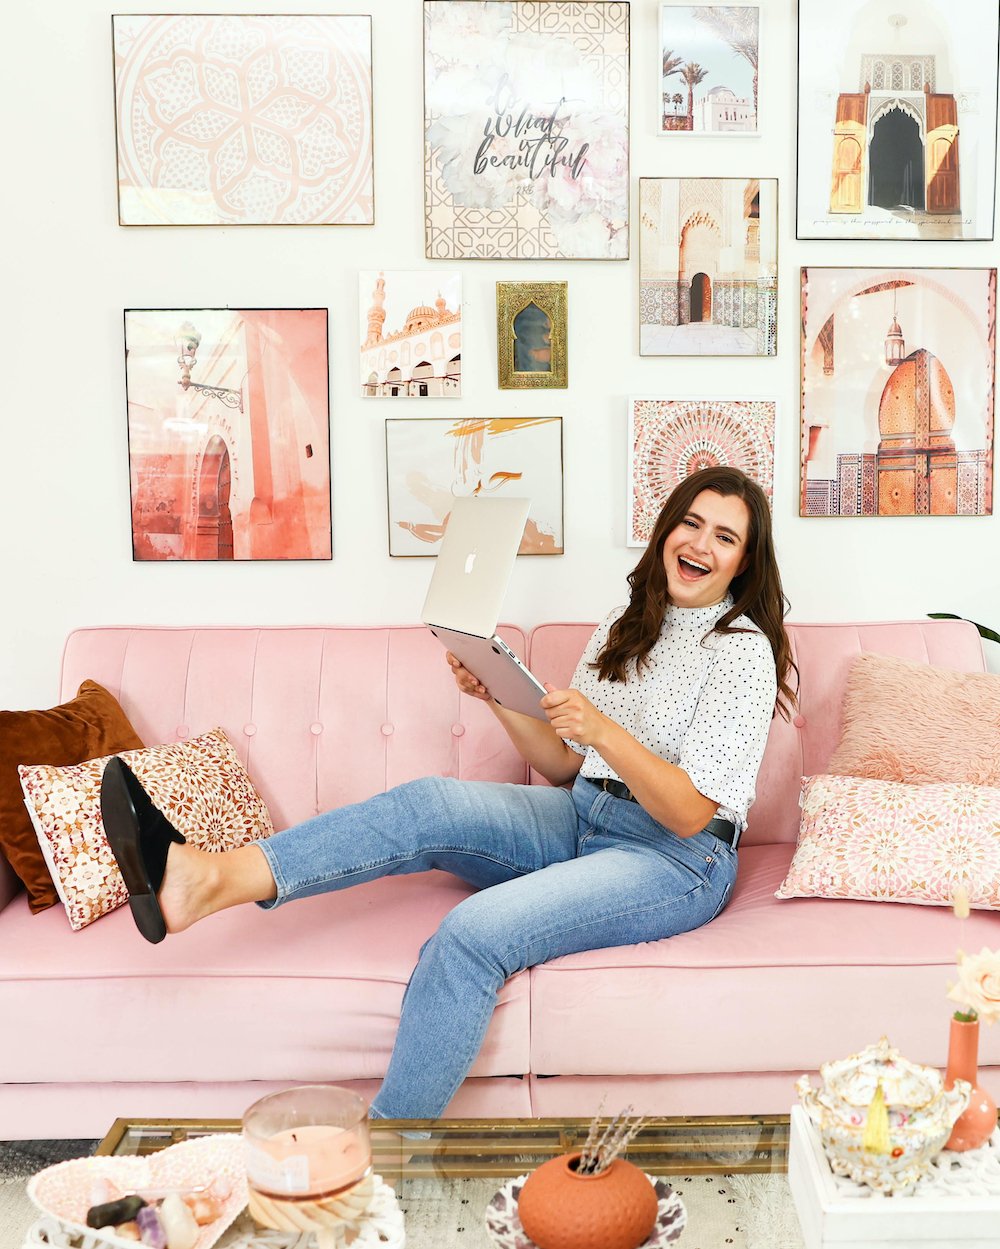
The location I chose had a couch with a gallery wall that I thought would be the perfect backdrop for a horizontal shot I had in mind and it even had a makeup/vanity area which was great for me as a beauty creator.
I love that you can read through all of the amenities that the space provides—the one we used had an additional small soft box light which ended up saving us on shoot day since it was slightly overcast. Thank goodness!
Want $50 off of your first Peerspace booking? I’ve got a Peerspace referral code! Use my link.
How I chose my outfits
Since the space I chose had lots of warm pink tones that reflected my brand colors, I decided to keep my outfits more neutral.
One of my brand colors (and one of my favorite colors to wear) is red but I also knew that I wanted my website header to be red, so I didn’t ultimately feel the need to incorporate red into the photos.
Pro tip: Thinking about the design of your web pages is definitely something I’d consider if you’re planning a brand shoot of photos to use for your website.
I thought about what I’d be wearing on a day-to-day basis as a creator and ended up shooting a few different looks so that I had a range of different outfits styles.
One look I knew I wanted to shoot was jeans and a casual blouse and I also wanted one look with a dress and heels.
I ended up renting some items from Nuuly which I absolutely love because I can borrow items to rent for a month and then send them back when I’m done, so I could shoot new pieces without having to buy new things.

Pro Tip:
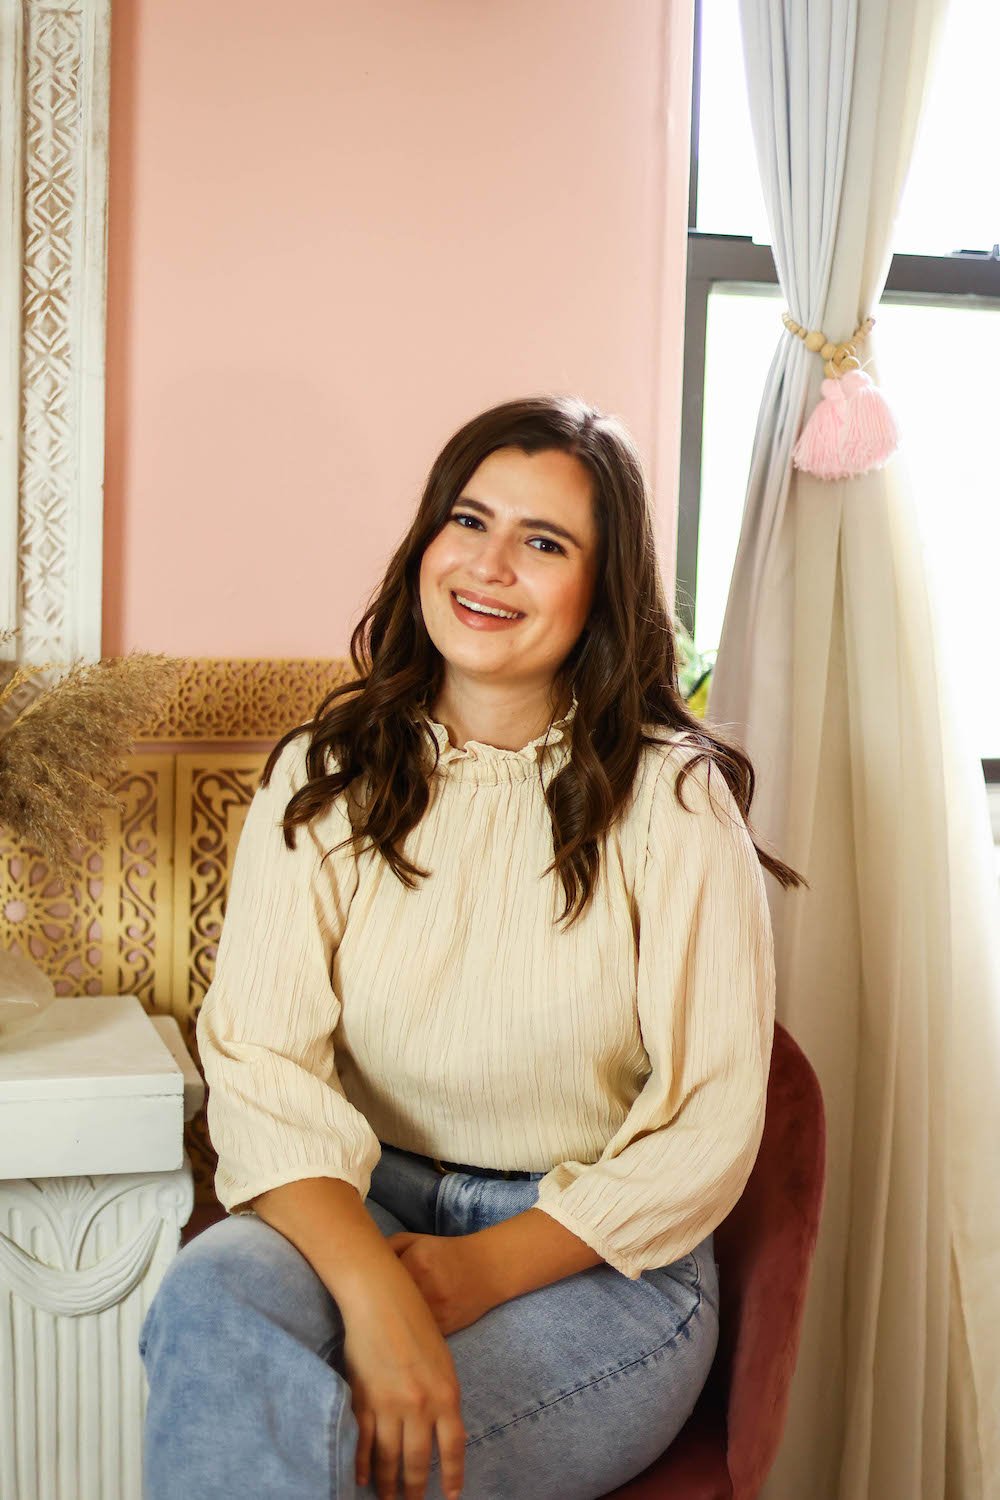
Choose season-less clothing for your brand photo shoot so that you can share them year-round! Here are a few of the items I chose to rent from Nuuly for the shoot. The long sleeve blouse ended up being in the photos I chose for my profile photo that displays across all of my social media platforms.
Even though we did this shoot during the summer, I wanted the photos to be somewhat season-less and I tried not to veer too heavily into summery looks so I could feel comfortable and confident using them year-round.
I pulled mainly tops and dresses from Nuuly and mixed in jeans that I already had in my closet since I wanted to make sure I had denim that I was already comfortable in. I also used my own accessories and shoes since those are things that I tend to wear day to day.
Want $10 off of your first Nuuly order? Use my link!
For hair and makeup, I decided to go with a natural makeup look and my go-to hairstyle that is usually featured in my photos which is loose curls.
I resisted the urge to do anything experimental here because in my head these photos were meant to represent my brand and showcase what I look like in my day to day as a business owner.
Prepping for the shoot
Once I had confirmed a day that both Jessie and the studio space were available, I booked both. I would say that booking a shoot about 2-4 weeks before you’re hoping to do it will give you enough time to source the clothes you want, props you’ll need, equipment you may require, and get generally organized.
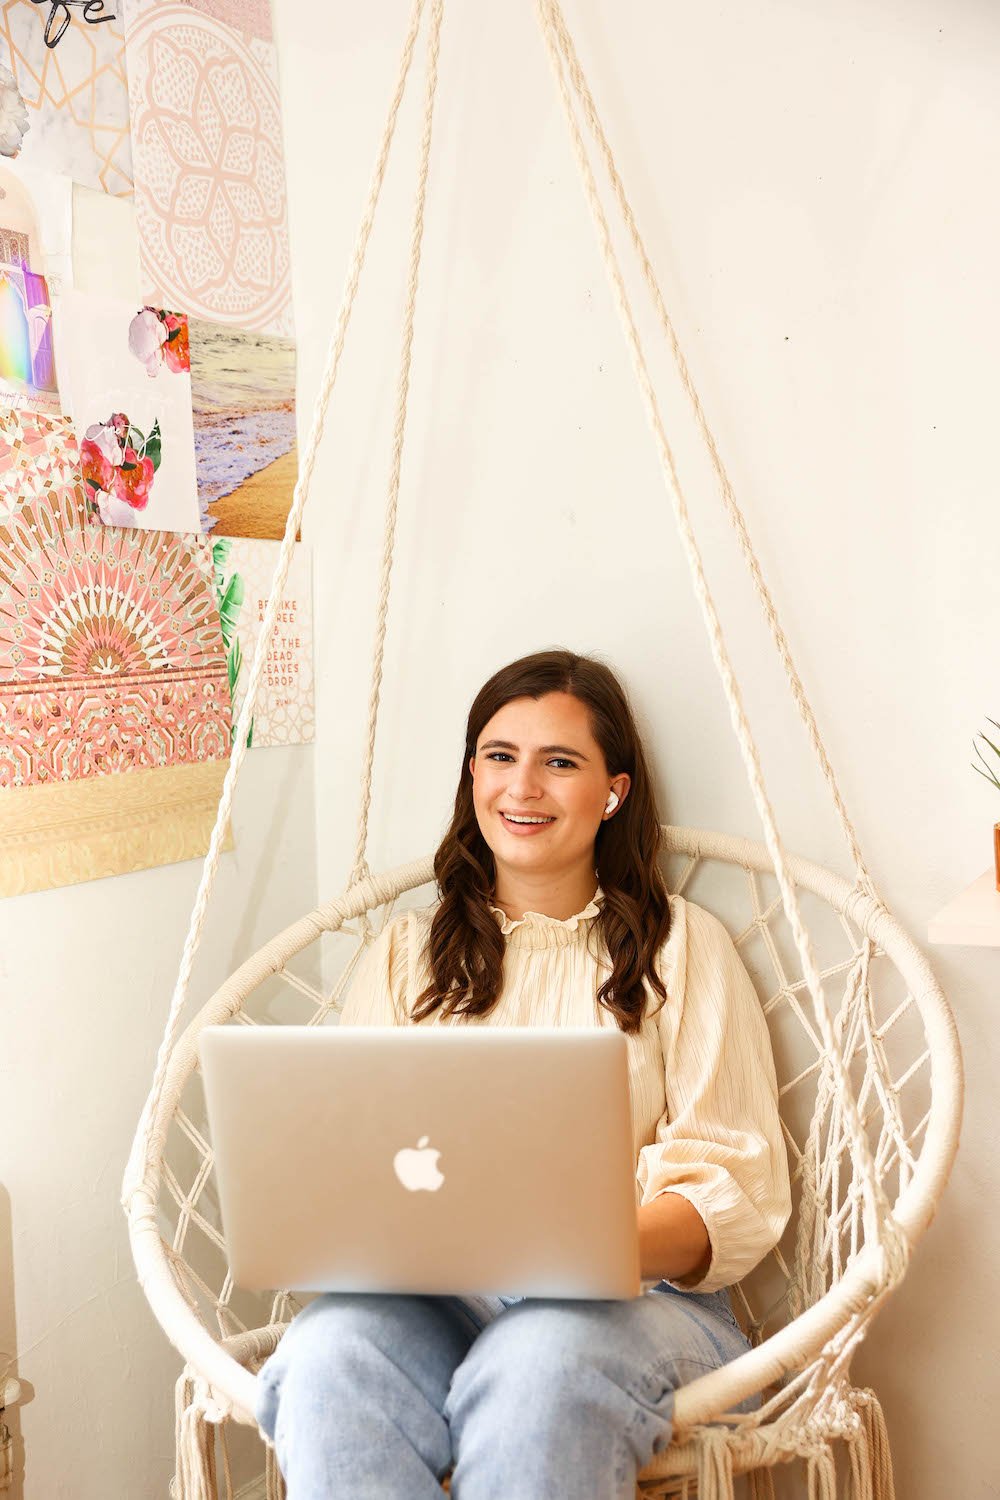
One thing that I did that I definitely recommend doing is putting together a shot list of exactly which shots I wanted to make sure we got while we were. I got as specific as: “sitting on the pink couch looking at my laptop and smiling.”
We only had the studio space for 4 hours, so prioritizing the types of shots I was absolutely certain I wanted really helped us stay on track.
I also took it a step further and put together a call sheet for the day of (just like I used to help create in my days as a magazine editor) where I had everyone’s contact information, the address of the studio space, and an approximate hour by hour time breakdown of the day so we knew exactly what was ahead for us from me doing hair and makeup to us packing up the shoot.
I tried on all of the different outfit combinations I was planning a day or two before the shoot and took mirror selfies of each look to print out with me so I wouldn’t be scrambling the day of to find and remember which items went together.
I also brought two backup outfits in case we had extra time or I wanted to swap out a look. (It may sound like I was over-prepared and in a way, I was! But it brought me, a Virgo, peace of mind to have extra options.)
I made sure to steam all of the items I was going to wear the day with my mini steamer before so they were ready to change into and I packed a bag with a sewing kit and a Tide pen just in case anything went wrong.
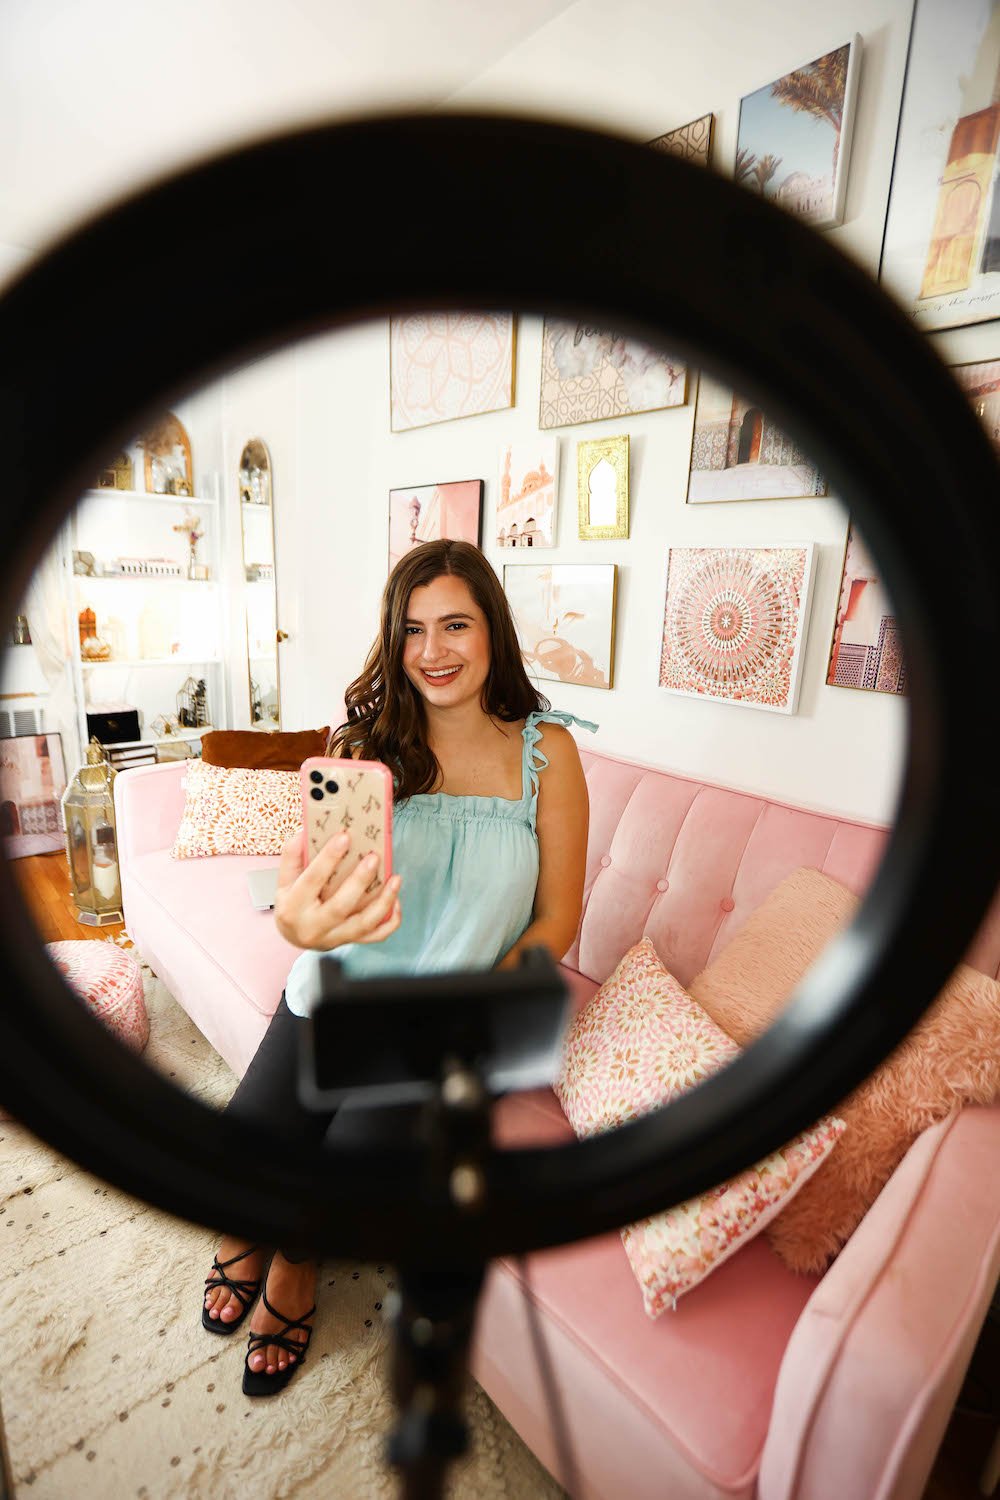
I also gathered all of the equipment I wanted to bring along (an extra soft box lights, my vlog camera, a tripod for my phone to record BTS to create an Instagram reel and extra batteries/chargers for all of my tech.)
I gave Jessie a heads up of what I was planning to bring and she brought her own camera, lenses, memory cards and extra batteries.
The shoot itself
When we arrived at the shoot location the Peerspace host let us in and gave us her number to text her if we had any questions and then we were off and running.
First, I moved around anything that I didn’t want in the shots and Jessie took a few test photos to see how the lighting looked.
I was already in my first outfit to save time so I made sure to make any final adjustments (ex: that my shirt was tucked in as I liked and that my hair wasn’t frizzy) and we started taking photos.
I also had my laptop with the shot list open to reference whenever we needed to and I was playing music from it which was a fun way to set the mood of the shoot.
I found a happy and upbeat playlist on Spotify that I found the morning of the shoot, but you could even curate your own playlist of music if you know what gets you pumped up and in a good mood to look your best in your photos.
We went through the shot list of photos that I wanted and while I was changing, Jessie also took some photos without me of my laptop and phone, of a notebook and of some of my press credentials. These were great additional shots to have.
When we were done shooting we packed up, returned any items we moved to their original place and headed home to eat lunch!
Jessie edited the photos and a few days after the shoot she sent them to me via WeTransfer after she was done editing them so I could download them and start using them!
The final result
I am so happy with how the photos all turned out! I would definitely recommend doing a personal branding shoot if you haven’t yet.
Do you have any questions that I didn’t answer in this blog post? Leave me a comment down below and I’ll do my best to get back to you.
yours,
Austen